We’ve been making our own almond milk since the beginning of this year and not sure we’ll ever go back to store bought…the flavor is just so much better. Don’t get me wrong, we do keep some cartons of the store bought variety around if we need it in a pinch, but the homemade stuff is worth the effort!
I got a Blendtec for Mother’s Day this year from my wonderful family (so spoiled!) and making almond milk got even easier. Last week I wondered why I hadn’t tried making a chocolate version…like, really! Why hadn’t I?? Haha, the conversations you have with yourself in your head, kinda glad not everyone can hear them!
Anyways, took just a couple tries and the finished product was being slurped up by everyone around. It’s really very good and such a nice treat! You can adjust the sweetness and chocolate flavor by changing up the amounts of dates (be sure to pit those dates!!) and cocoa powder you use! Experiment and see what your family enjoys most! Oh also…invest in a good nut milk bag…here’s the one we use! We had some near disasters trying to use cheesecloth…good golly the mess!
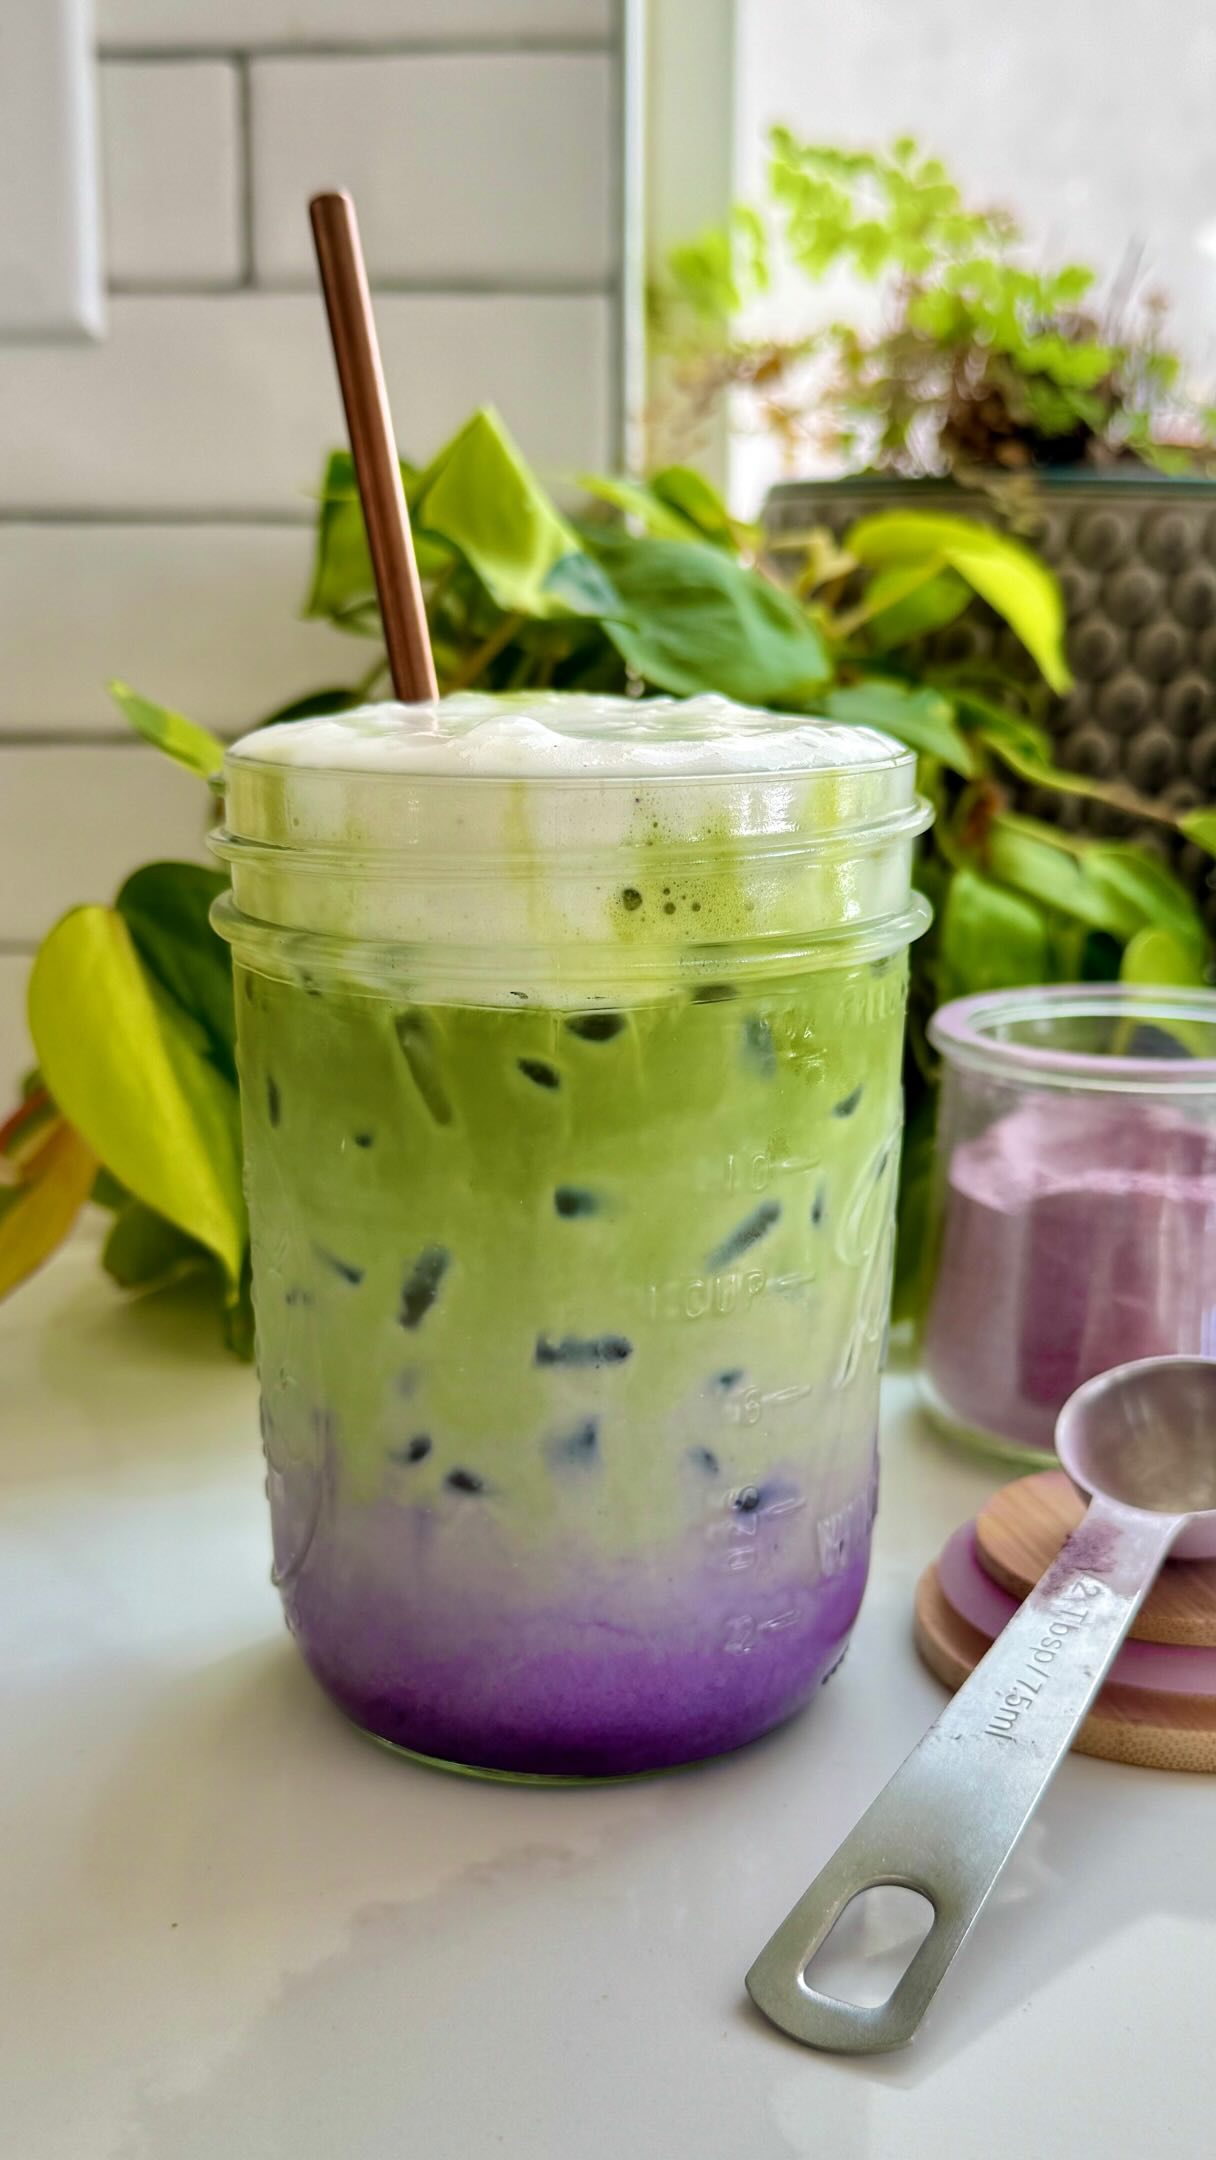
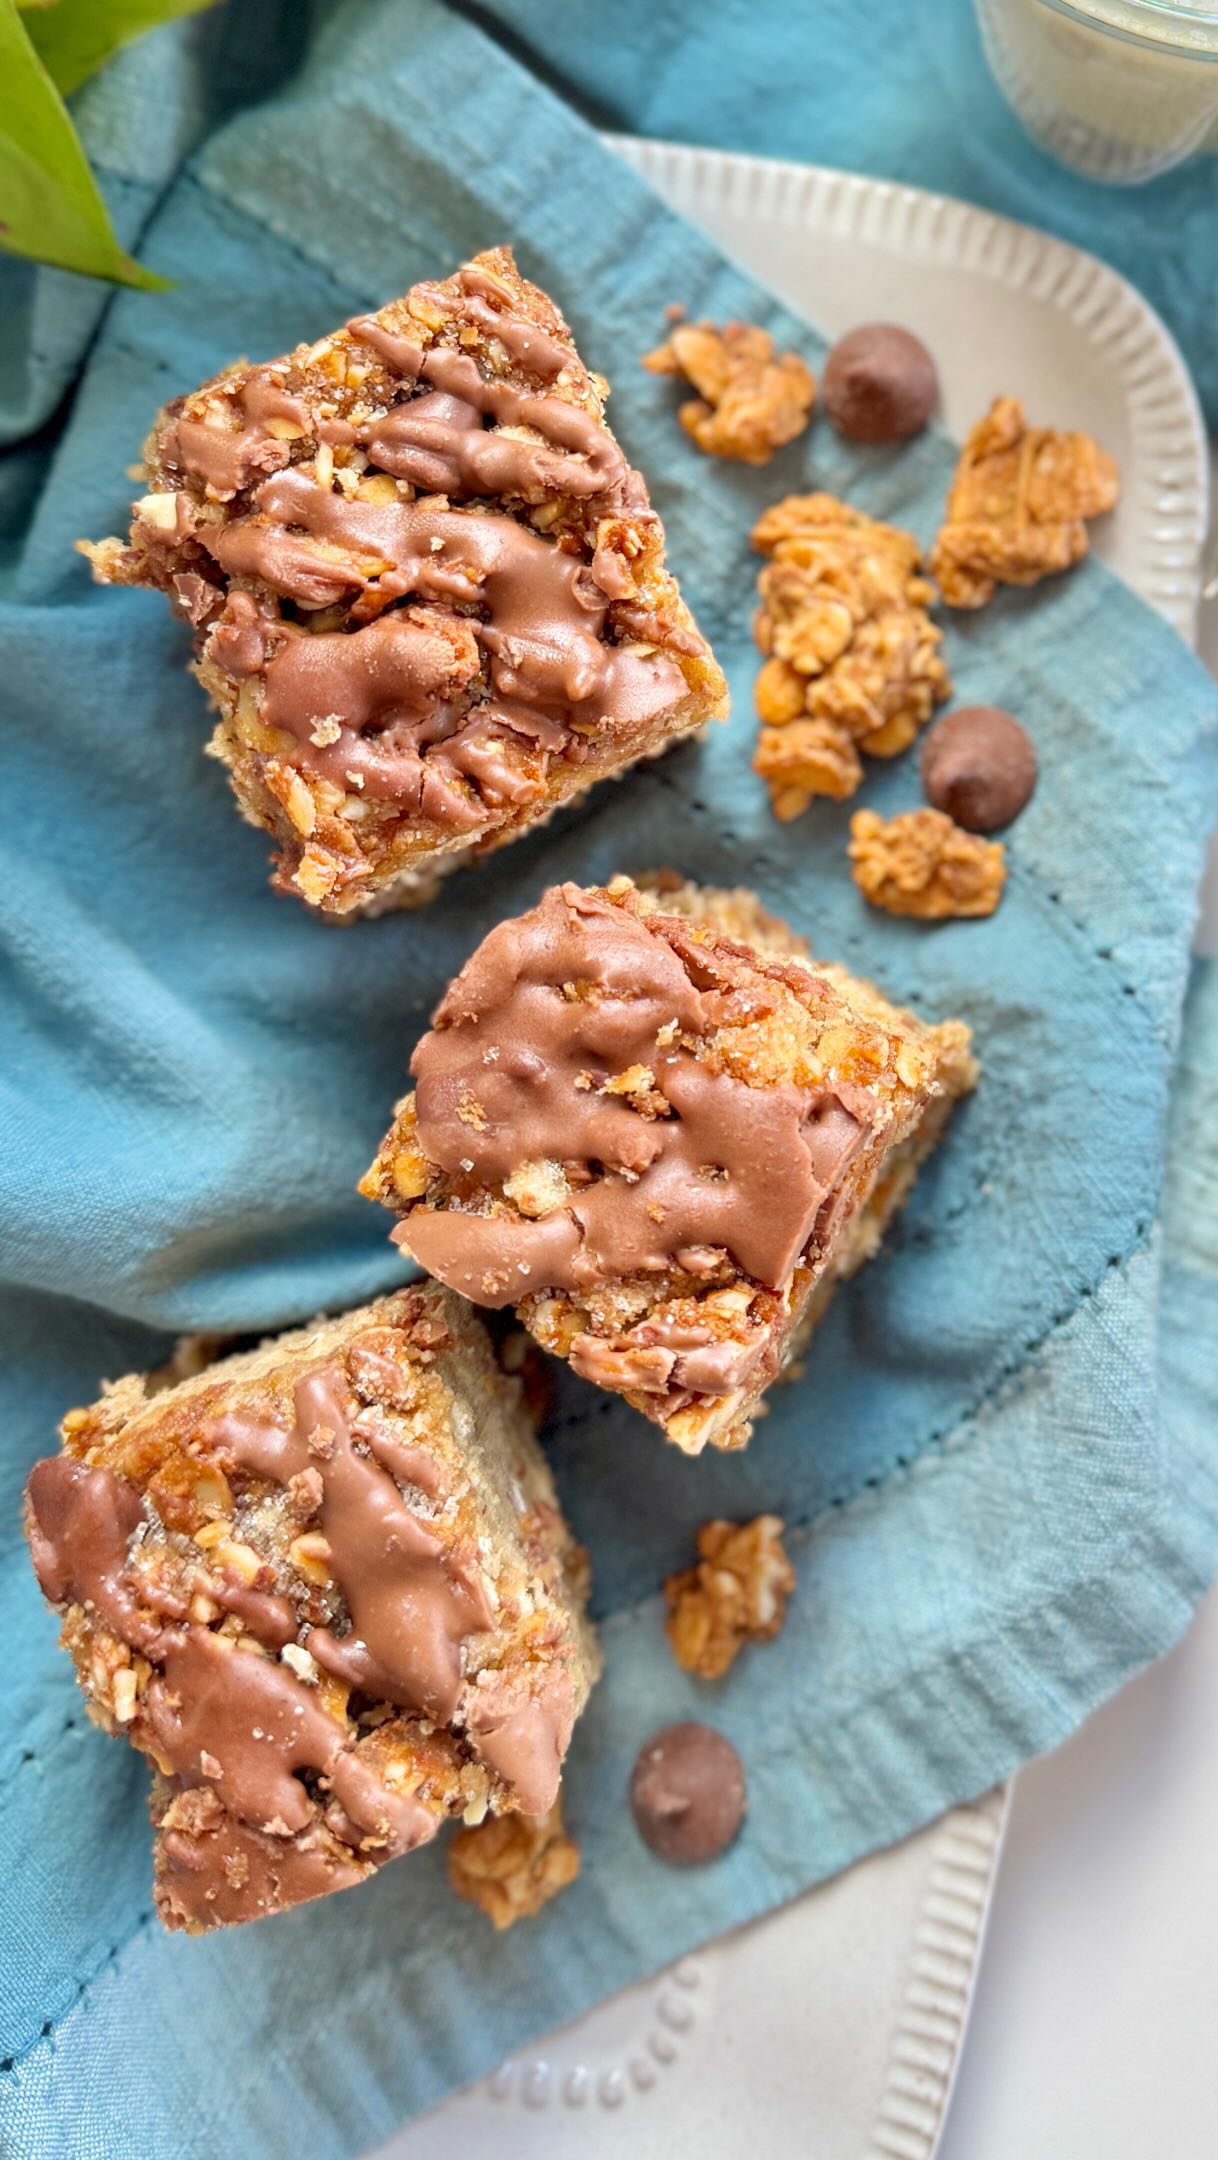
chocolate almond milk

a fresh, yet silky rich dairy free chocolate milk
Credit: backporchpaleo.com
Ingredients
- 1½ raw almonds
- 7 c filtered water, separated 3 c for soaking 4 c for blending
- ½ whole vanilla bean (opt)
- ¼ c cocoa powder
- 5-7 medjoul dates, pitted
- couple pinches of salt
Directions
- Place almonds in a glass container and fill with 3 cups filtered water, cover and let soak overnight.
- The next morning, rinse almonds well in a colander add to the blender and add the remaining 4 cups of water.
- Toss in the vanilla bean, (whole…not to worry, it will be pulverized during the blending process) cocoa powder, dates and salt.
- Blend until completely smooth. This takes about 60 seconds in a Blendtec, but if you’re using a standard blender, it could take up to 4 minutes or so depending on the motor size of the unit you’re using.
- Strain through a nut milk bag or cheesecloth method and store in refrigerator! I have found that you have to give it a good squeeze to get all the milk separated from the nut meal. Just make sure hour hands are real clean and go for it! You’ll want to get every ounce! Once it’s chilled, enjoy a sample taste! You’re gonna love it!!