
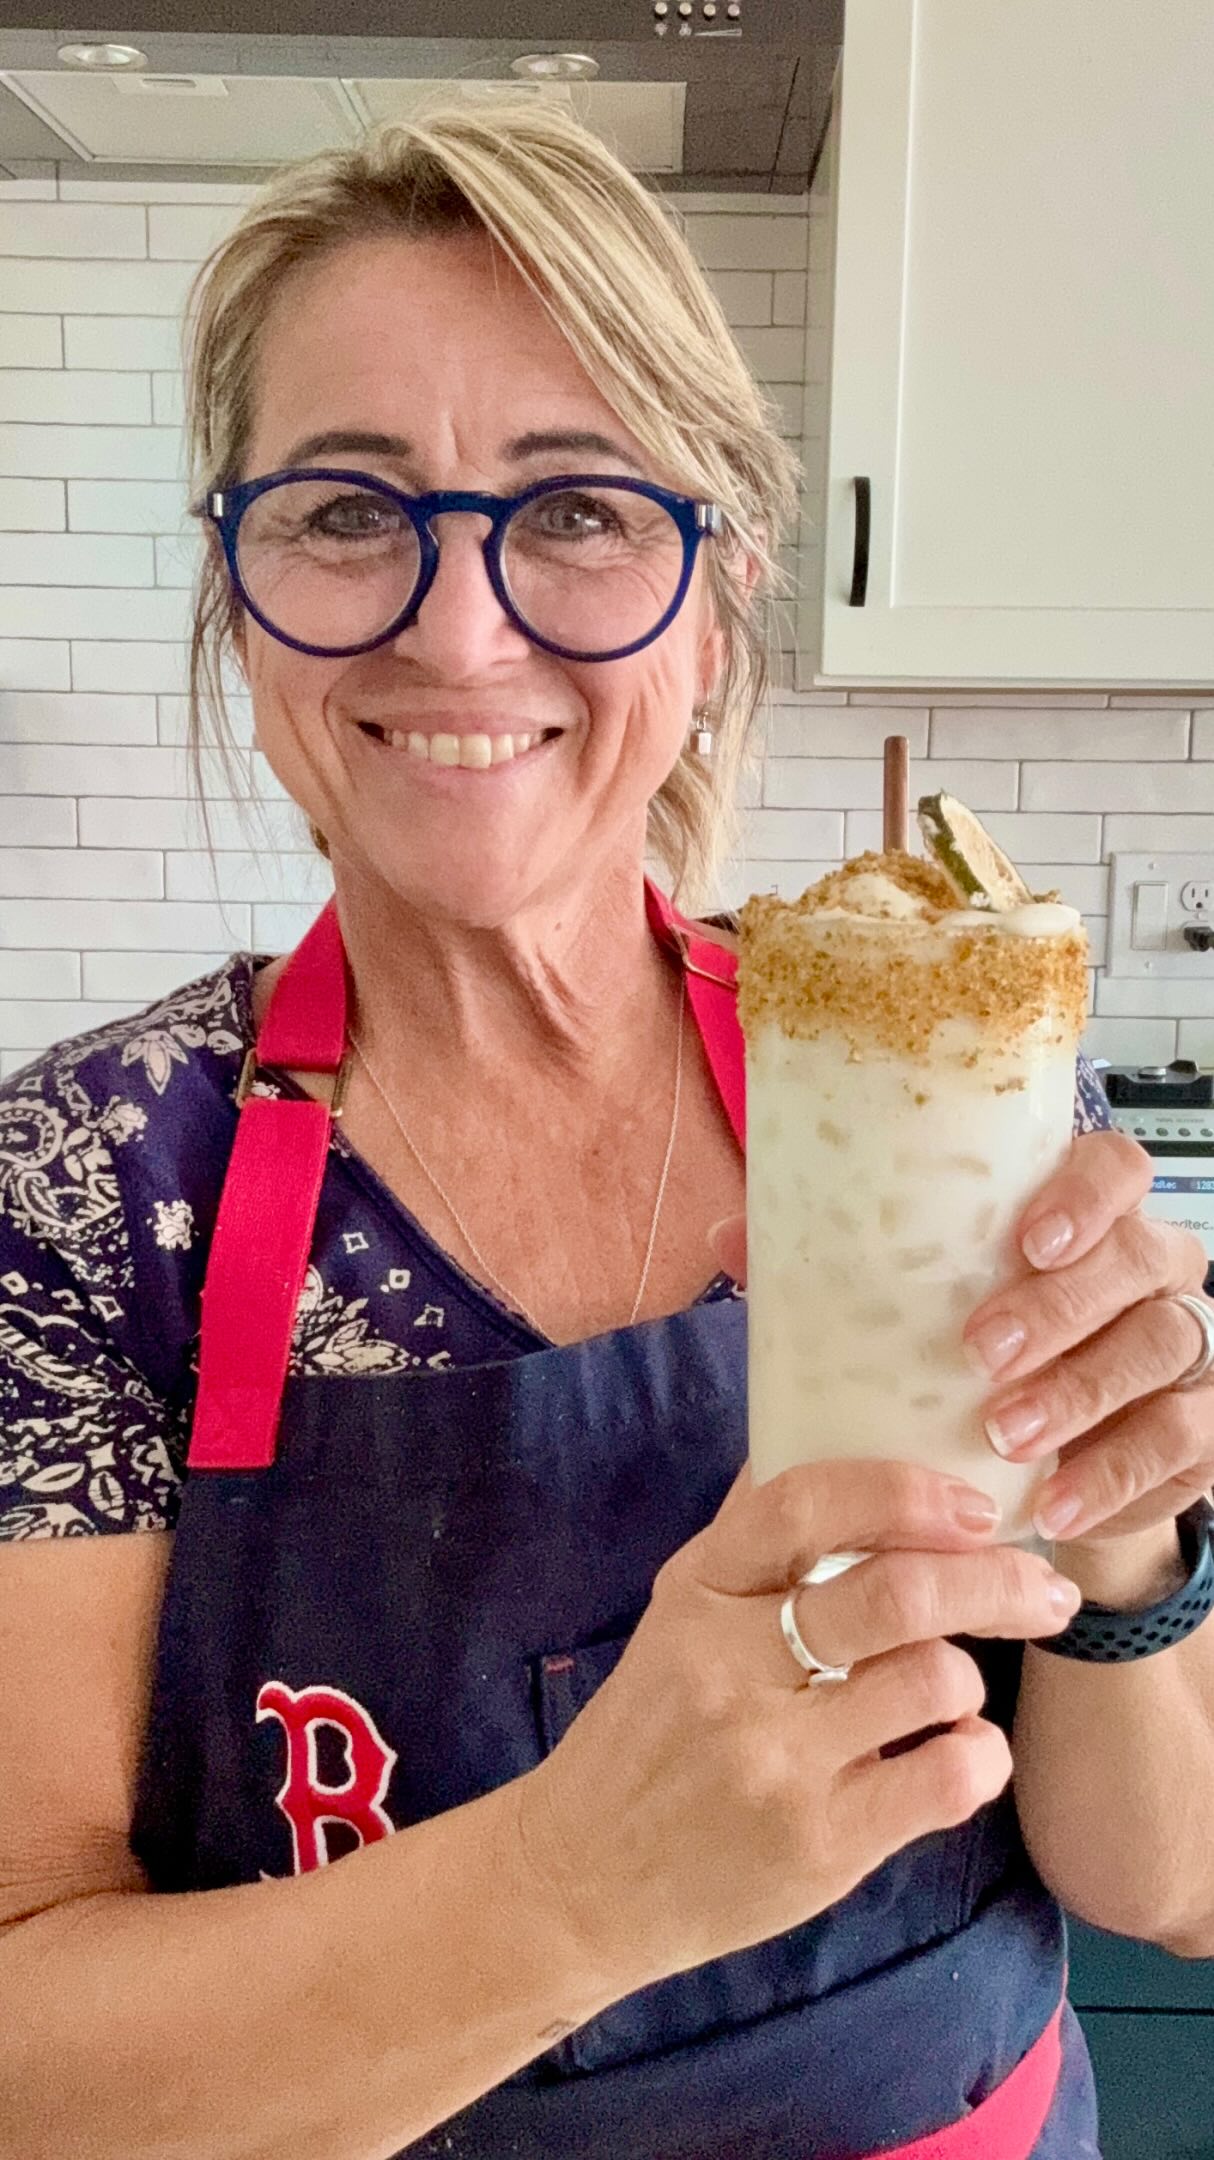
Every year around this time, it’s Father’s Day and then next month is Mr. BackPorchPaleo’s birthday…so we think of creative ways to remake some classic treats for him that involve ice cream! It’s one of his favorites things EVER! Last year we made waffles cones, drumsticks and choco tacos, see that recipe here!
So in heading down the ice cream road this year, we wanted to remake that so aptly named ice cream treat: Fat Boys! Which are square ice cream sandwiches with a horrible name! Like, who thought was a good marketing strategy? Something I will not soon understand…anyways, back to the remade version!
Obviously remaking the cake portion was the new adventure, which we of course used Otto’s Cassava Flour for, not even a question there. But then how do you make the shape of the ice cream sandwich ~ well, we turned to Amazon. We found this ice cream sandwich mold by Chef’n and it was kind of a pain to use to be honest, messy and with the minimal amount of batter you use for each “cake” takes quite a while to bake up all the batter and then make all the “sandwiches!” There are several other options available to pick from, so knock yourself out and try out what fancies you. I ended up preferring to hand cut our own, sure they have a more rustic appearance, but take much less time and still taste the same!
A note about the sweetness of the cake, you’ll notice the recipe has some varying amounts of maple syrup as well as the water. If you prefer a sweeter cake, use the full 3 tbls of additional maple syrup and less hot water. If you prefer the sweetness of the ice cream to be more forward use less maple syrup and more water in the cake and it will be a darker chocolate flavor. The batter just needs to be a cake batter consistency, so adjust to your preference.
The baking sheet we used measured 8″ x 11.5″ and the cake only cooks up to be about 3/8″ thick, so as long as your pan is close to those measurements you should be all set. You just want a pretty thin cake, so that your ratio of cake to ice cream is perfect!
We did come up with two new ice cream recipes in the process of making this summer classic ~ summer sweet strawberry as well as honey custard vanilla…because they’re Mr. BackPorchPaleo’s fav!!
Enjoy this summer refreshment and please reach out if you have any questions!!
cassava flour ice cream sandwiches
a summer classic with a paleo twist, the best paleo ice cream sandwich your tummies are going to LOVE!
Credit: backporchpaleo.com
Ingredients
- ½ cup Otto’s Cassava Flour
- ½ cup cocoa powder
- ¼ c ghee or softened butter
- ¼ c + 1-3 tbl maple syrup*
- ½ tsp Redmond Sea Salt
- ¼ tsp baking powder
- 1 tsp vanilla
- 2 egg yolks, room temperature
- ½ cup + 1-3 T hot water* (just from the tap, doesn’t have to be boiling)
- 1½-2 quarts your favorite paleo ice cream
Directions
- Preheat oven to 375°
- If using a store bought ice cream sandwich mold, prep as directed by manufacturer. If you’re going to hand cut your own, prep a half sheet baking pan by lightly coating or spraying with coconut or avocado oil.
- In a small bowl, combine flour and cocoa. Whisk to combine and set aside.
- In a medium bowl, combine ghee or softened butter, maple syrup, salt, baking powder and vanilla until fluffy and well combined.
- Add egg yolks one at a time, mixing well after each addition.
- Add flour/cocoa powder mixture. Mix slowly at first to combine, then increase speed to make sure all dry ingredients are mixed in well and smooth.
- Turn off mixer, add hot water all at once and slowly mix and again slowly increase mixer speed to mix well until batter is very smooth.
- If using ice cream sandwich maker molds, follow manufacturer directions to bake, mold and freeze.
- To make hand cut ice cream sandwiches, pour batter into prepared sheet baking pan and bake for 10 minutes.
- Remove from oven and allow to cool completely in pan. Once cooled, remove from pan and cut in half vertically. You’re basically creating the bottom and top of your ice cream sandwiches at this point.
- Remove ice cream of choice from the freezer 15-20 minutes to soften.
- Line entire baking sheet with plastic wrap making sure you have some overhanging on each edge. Lay one half of the cooked “cake” back in pan and spoon softened ice cream on top and smooth out to cover the entire bottom part of the sandwich. Work quickly, ice cream melts! You can make the ice cream layer as thick or thin as you like, just depends on the ratio of cake to ice cream you prefer. We like LOTS of ice cream, so our ice cream layer is more than an inch thick, but certainly you choose!
- Once you have your ice cream smoothed out, lay the other half of the cake layer on top and press down lightly.
- Using the plastic wrap that you lined the baking sheet with, wrap up the entire creation and return the baking sheet to the freezer to firm that ice cream back up – let it set for several hours.
- When ready to cut into individual sandwiches, remove from freezer and allow to set for 15-20 minutes. You want it soft enough to cut through, but not too soft that all the ice cream squeezes out when you push the knife through!!!
- Unwrap the plastic and lay on a cutting board and carefully cut into desired sizes or if you want to get fancy, you can use a decorative round cutter! This will leave you with scraps that you can toss into a container to freeze for later consumption, DON’T waste them!
- If you want to add decorative dots on top, use a chopstick or skewer and place random indents in whatever pattern you’d like.
- Wrap each individual sandwich in parchment paper, secure with twine and place back in freezer until ready to enjoy!


.jpg)