

After years and years of making our paleo pizzelle waffle cones we finally invested in an actual waffle cone maker and boy oh boy how fun are they?! More cone for all the tasty ice cream you can spoon into it!
With so many of our friends living the #lowcarblife now days, we thought it was time to give our pizzelle recipe a “low carb” makeover. The pizzelles are amazing and were a HUGE hit at PaleoFX a couple years ago when I got to demo them in the Otto’s Cassava Flour booth for the crowds there (had a blast doing that btw) and we’ve enjoyed our fair share of them over the last three years. They are however, very carb-o-liscious so can’t accommodate our low carb friends.
Until now! It took a few attempts to get the right consistency and sweetness levels, but it is DONE! They are delicious, perfectly sweet and a wonderful vessel for all the low carb frozen goodies there are available to nosh on. There is an addition of one tablespoon of maple sugar and while it does add about 9 carbs to the entire recipe, it also lends an extra bit of sweetness that I think you’d miss if you didn’t use it. But you be you and adjust how you prefer.
Here is the link to the waffle cone maker we used: WAFFLE CONE MAKER
If you make these, please give us a tag over on IG – we’d love to see your creations!! Enjoy!
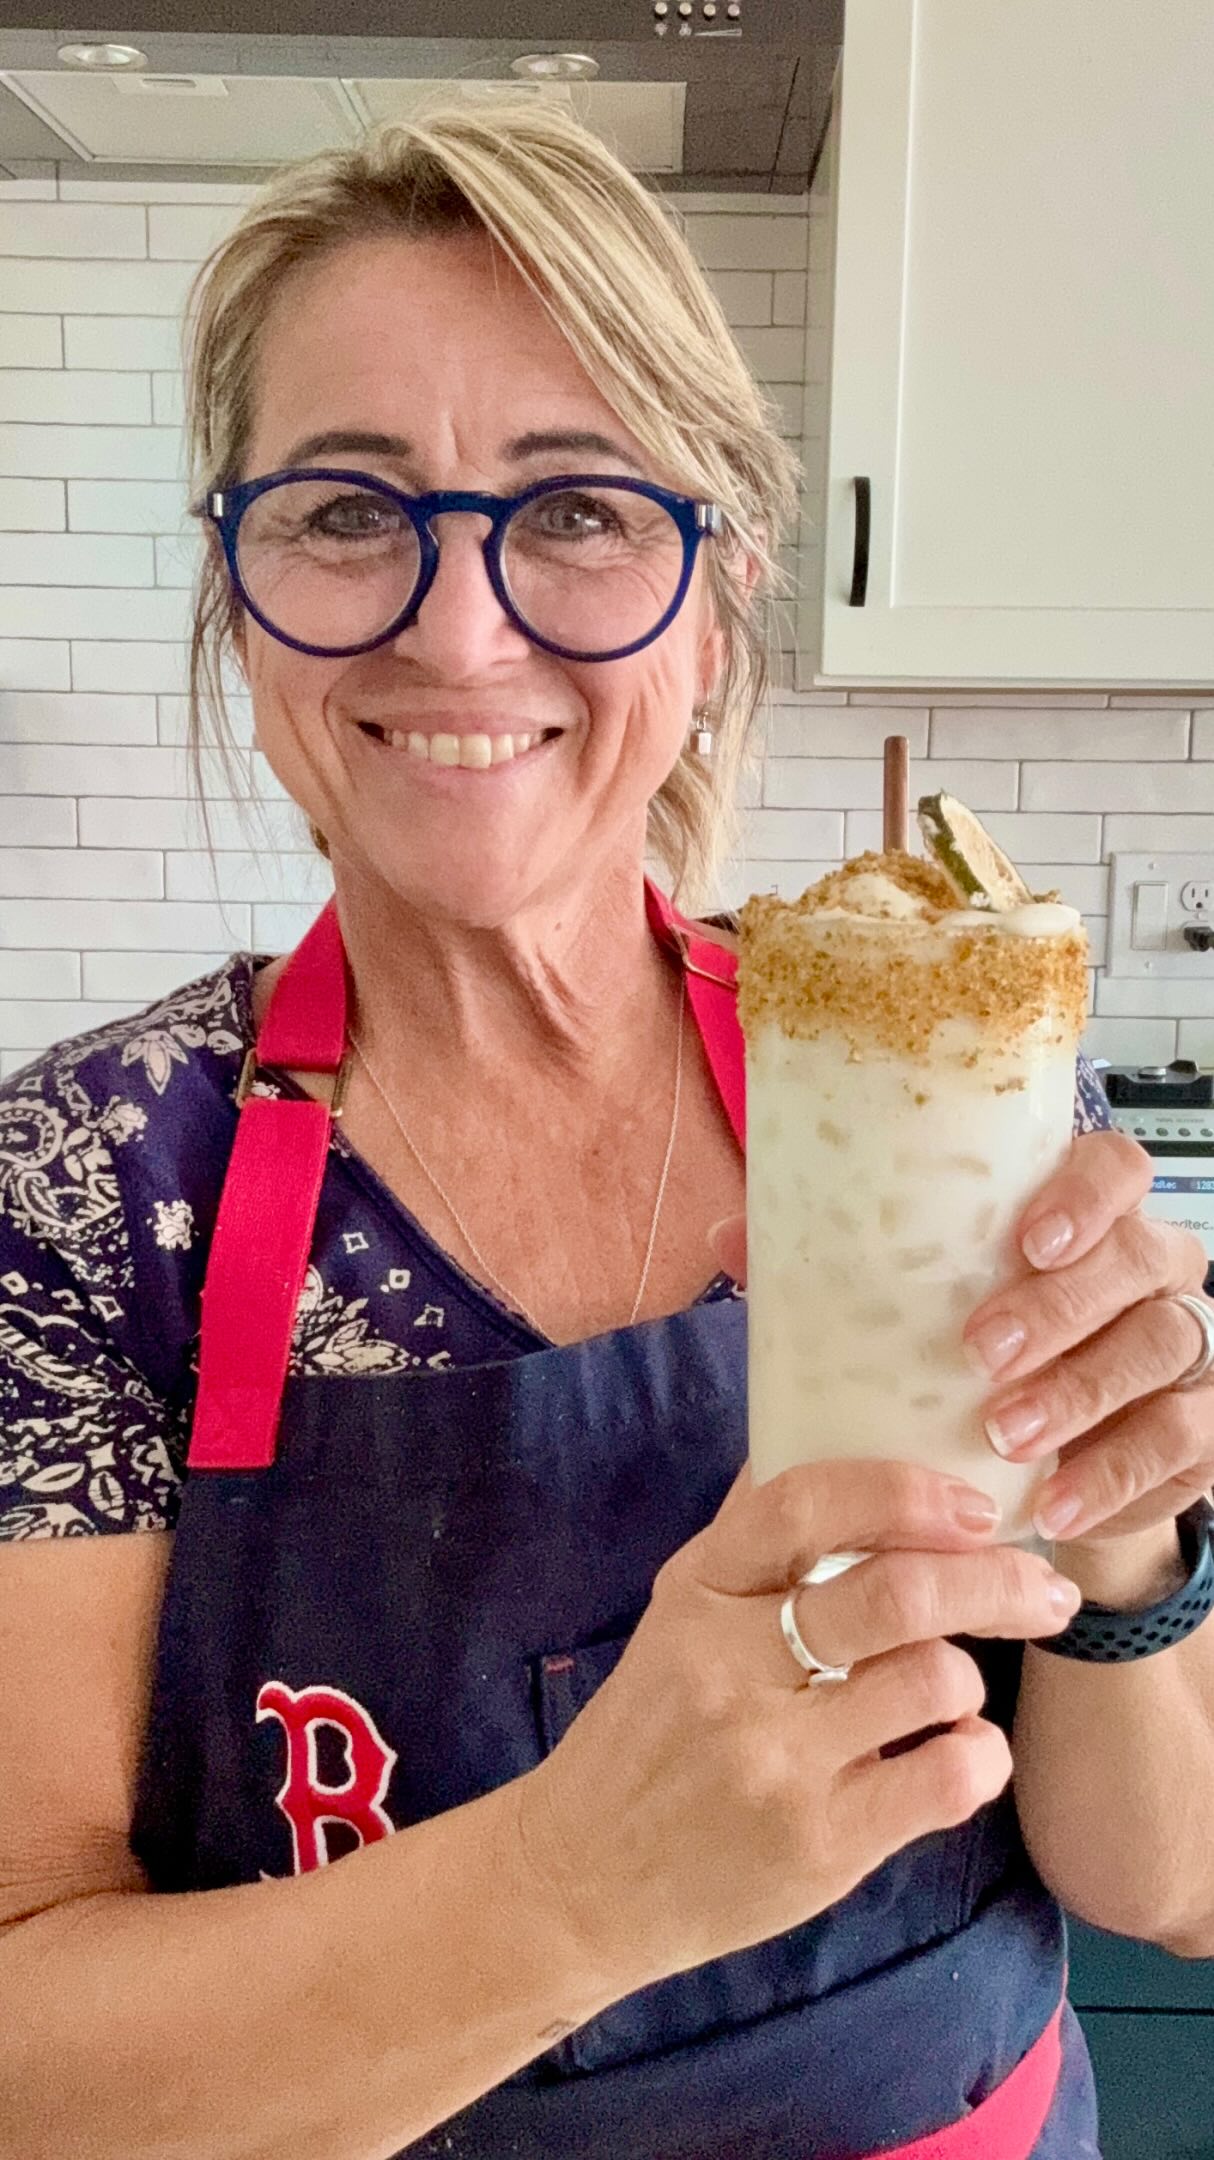
low carb waffle cones
#lowcarb life waffle cone happiness
Ingredients
- 1¼ cup almond flour
- 2½ tblsp Otto’s Cassava Flour
- 1 tblsp maple sugar (opt)
- 2 tsp baking powder
- ½ tsp Redmond Real Salt
- 3 eggs, room temperature
- 2 tblsp MCT coconut oil
- 1 tblsp vanilla
- 1 tsp stevia glycerite (we love the vanilla or maple)
Directions
- In a medium sized bowl, whisk together the flours, maple sugar (if using) baking powder and salt. Set aside.
- In another medium sized bowl, add eggs, MCT oil, vanilla and stevia. Whisk vigorously until eggs are incorporated.
- Pour wet ingredients into the dry, whisking again until fully combined.
- Bake waffle cones til golden brown according to manufacturers directions. Roll them immediately by hand or using a wooden cone form. Careful, they are mighty warm coming out of that iron. Repeat with remaining batter.
- Let cool completely before enjoying. If making larger cones, you should get 6-7 or if you want a bit of smaller cone you should get 12-14. Link to the waffle cone maker we used is above. Our waffle cone maker needed between 3-4 tblsp of batter for the lager cones. This will vary depending on the model you use.
- These store best in a cardboard bakery box and are even better after they dry out the next day! They also freeze beautifully.


.jpg)
I love all your recipes!!! Can we use coconut oil instead of MCT oil or will it be too runny? THANKS!
Hey Bobby ~ thanks so much, we appreciate your kind words! Melted coconut oil should be great too!! Haven’t tested it, but quite sure it should work. Thanks for checking 🥰 enjoy!! ~Michelle
💖 Love your blog and fab recipes, especially those with cassava flour! Do you think this could become a sugar cone?!? Those are what I miss with my ice cream!
Hi Pam! Do you mean that aren’t “low carb”? We do have a pizzelle recipe that you can use in the same waffle cone maker this low carb recipe is made in and they’d be perfectly tasty sugar cones! There’s a link to that pizzelle recipe in the first paragraph of this recipe, but I’ll paste the link to it here as well. Thanks for checking 😊~Michelle
https://backporchpaleo.com/recipes-2/on-the-sweet-side/paleo-pizzelles-aka-waffles-cones-for-drumsticks/